


MOUNTAIN HOME BLOG
How to Save Time and Money on Chinking
Posted on |
Log Home Chinking
|Mountain Home Building Products
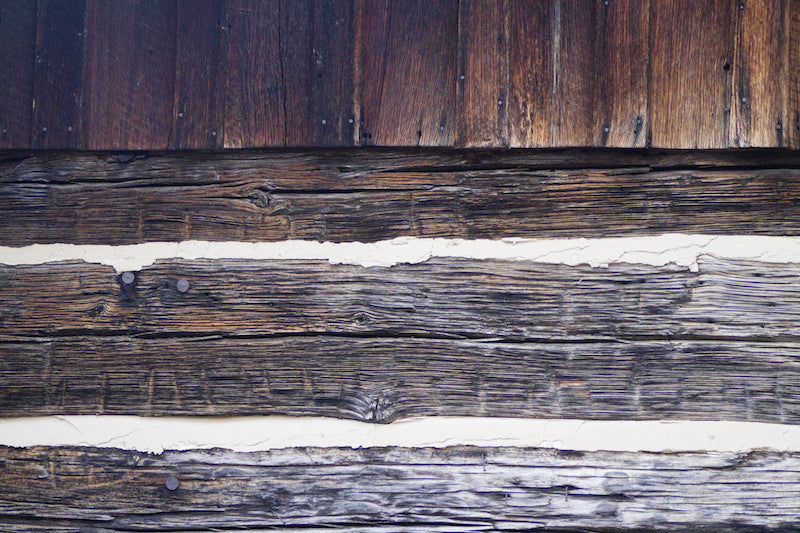
More often than not, your log cabin will require chinking to seal the joints between your logs.
A few cabin styles may not require chinking, but you may still choose to use it for aesthetic purposes. The look of chinking is reminiscent of the old-time cement used on log cabins during the Frontier era, and can make your cabin look rustic.
Regardless of the reason behind ...
Read More
Chinking and Energy Efficiency in Log Homes
Posted on |
Log Home Chinking
|Josh Horner
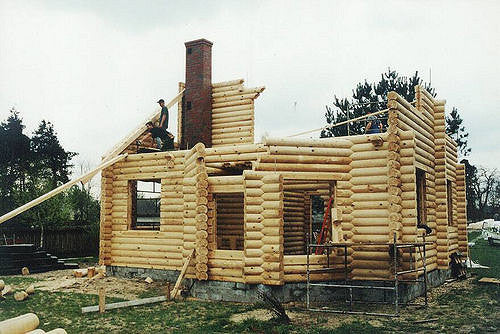
You've chosen that perfect spot in the mountains, and you're ready to build your dream home. If a log house is what you picture, keep in mind that energy efficiency is a great concern for those who own such homes. A plain log wall doesn't even meet building code energy standards most of the time. If you build well, however, you can have a log home that's both beautiful ...
Read More
4 Common Mistakes of DIY Chinking
Posted on |
Log Home Chinking
|Leroy Walker
Chinking is a filler material that's typically applied between the joints in log home constructions. Modern chinking products are far more advanced than their traditional mortar counterparts, but most retain the same overall appearance for a rustic finish. If you're adding chinking to your home, it's important to research the process carefully, so you don't make these c...
Read More
Tools for Quality Chinking
Posted on |
Log Home Chinking
|Josh Horner
Chinking is an attractive and functional addition to any log home. This material efficiently fills the gaps between logs, improving your home's insulation and energy efficiency. You can apply chinking yourself, but it's important to have the right tools on hand for the job.
Backer Rods
Backer rods are an essential base for your project. They offer a non-adhering surface...
Read More
Chinking Repair—There’s Nothing Difficult About It
Posted on |
Log Home Chinking
|Leroy Walker
So, it's time for some chinking repair. Oh yes, chinking materials have definitely evolved from ‘primitive’ to ‘impressive’! In days of old, virtually any material that could be found was used as chinking to fill the gaps to keep out insect invasions, rodents, moisture and the bitter cold. Everything from horse-hair to moss to dung to mud to newspaper was utilized to...
Read More

Should You Put Chinking Over Cement?
Posted on |
Log Home Chinking
|Josh Horner
A question that often gets asked from log-home owners is: “Is it OK to put chinking over cement?” and the answer is “Yes”, but that ‘yes’ answer is assuming the old cement is in good shape and isn’t showing signs of crumbling. Due to the heaviness of cement, this medium typically cracks which, unfortunately, will permit water to travel under thin edges. Older cement-bas...
Read More

Chinking: The Best Product for Your Log Home
Posted on |
Log Home Chinking
|Leroy Walker
Triple Stretch chinking is designed to help keep bugs and the elements on the outside of your log home. It has been manufactured by the Weatherall Company for the past 30 years. It is one of the original products specifically designed for the log home market.
It can be purchased either in 5 gallon buckets or 29oz tubes. Triple Stretch chinking typically costs between $1...
Read More

Chinking for Log homes & Cabins: Application Guide & Tools
Posted on |
Log Home Chinking
|Josh Horner
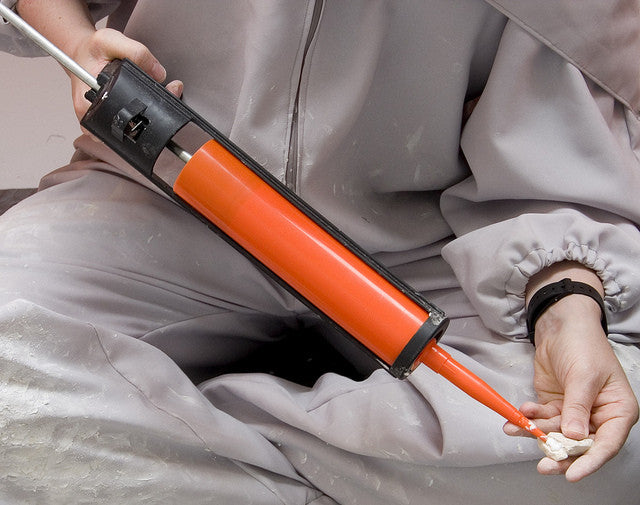
Log home chinking is typically applied by professionals but it is a skill that one can acquire over time. It is important to have the right tools, product and knowledge before starting your own chinking project. Chinking material can be applied through the use of quart tubes, bulk loading guns or industrial machines. Any of the aforementioned methods will work for chink...
Read More

Log Home Chinking, Caulking, Staining, Sealing, Re-Chinking, Re-Caulking, Re-Staining, Re-Sealing
Before or after buying your log home there are certain things every log homeowner should know. Some things might be open for debate but one thing is for sure, your log home will require attention.
This doesn't mean that you will spend all of your waking hours staining, caulking, sealing, chinking, re-caulking, re-chinking and re-sealing. It does mean that you will need ...
Read More

Should I Stain or Do My Chinking First?
When building a log home there are many important decisions to make during the building process. Each one is important because typically they will have an impact on your next decision. When it comes to selecting the chinking and stain for your log home these tasks should not be overlooked.
It is important to choose a chinking material based on the following criteria.
T...
Read More

Chinking Mistakes to Avoid
Posted on |
Log Home Chinking
|Josh Horner
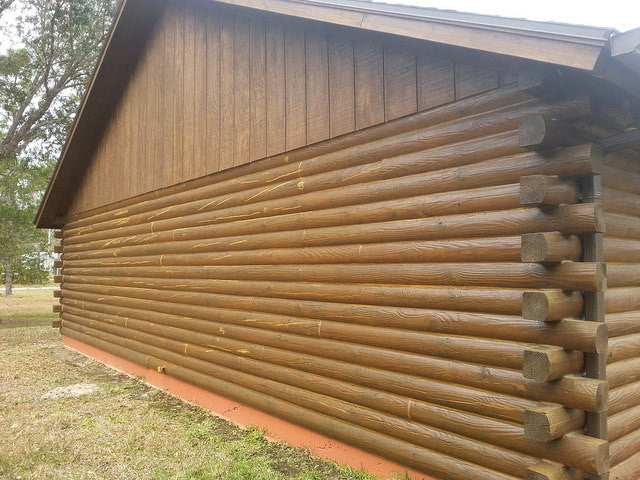
Chinking for log homes can be used for aesthetic reasons or can be done to ensure the elements stay outside. Some homeowners like the look of chinking while others don't want to see any chinking on their home. Typically chinking is required on your log home if you meet any of the following criteria:
Can you stick your hand from the inside of your log home to the outsid...
Read More

How to Apply Log Home Chinking Material
Posted on |
Log Home Chinking
|Leroy Walker
Chinking a log home requires patience and an artistic touch. It is typically done by professional chinking contractors but can be accomplished by homeowners. Follow the guidelines below for a successful job.
Ensure that your wood is clean and dry before starting your chinking job. The moisture content of your wood should be below 20%. Rain should not be in the forecast...
Read More


