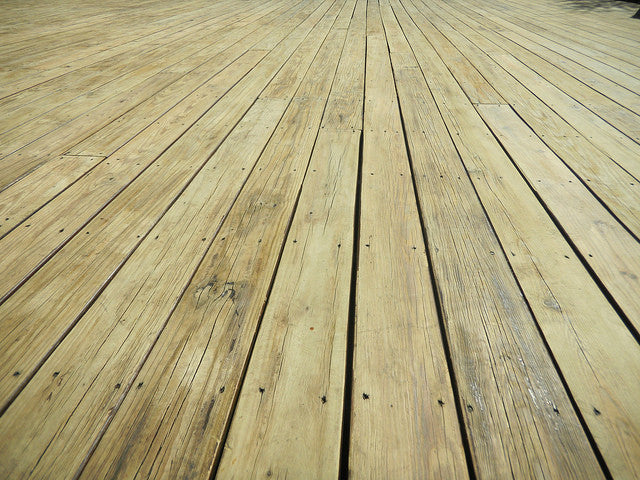
6 Wood Deck Staining Tips

There is nothing like the beauty of wood. But all those gorgeous wood patterns and coloration can deteriorate over time with exposure to the elements. Protect your investment and construction by following these wood deck staining tips.
Don't Skip the Prep
One of the biggest mistakes newbies make is skipping the prep work. They think it saves time and money when in the end it does the opposite. Even new wood requires cleaning and preparation before staining. Doing so ensures that you'll get the best performance out of your stain. Clean your deck at least four days before staining so it has time to dry.
Remove all plants, furniture, and other items from the deck. Tie back any branches touching the decking. Wet surrounding foliage if you're using chemicals to clean. Use a cleaning solution or a pressure washer set at 3,000 psi and fitted with a fan nozzle. Hold it about 18 inches from the surface, and work in sweeping motions until the entire area is free of debris. Do not keep the wand in one place for long, as doing so may damage the wood. For older wood, use a soap scrub method.
Cover the Nearby Area
If you want professional quality, you'll want to cover areas near where you're staining to protect them from spray and spatter. Even the most careful application can cause flecks of stain to discolor the edge of your home or landscaping.
Apply the Stain Vertically
Never apply stain to damp wood; wait at least three or four days after the last rain. Damp wood doesn't absorb stain well. Sweep the deck to remove debris that has collected since you last cleaned it.
Apply the stain evenly with a synthetic bristled brush slightly wider than your deck boards. A brush provides a lot more control than a roller. Start at the top of your vertical deck pieces (top rail, baluster, posts, and bottom rail) and "paint" it on, moving with the grain of the wood.
Apply Stain to the Floorboards
Start at the farthest end of your deck, as you don't want to stain yourself into a corner and be forced to walk on it before it's dry. Do each board one at a time instead of sweeping across multiple boards at once. Stir the stain often during application to ensure even color. Immediately brush out any pools that form. Allowing them to dry that way will yield uneven color.
Clean Up
Clean your brushes immediately. Clean water-based stain brushes with water. Oil-based stain cleans up with mineral spirits or paint thinner. Caring for your tools means you can use them the next time you stain your deck. Wait two days before replacing deck furniture or planters and walking on your deck.
Don't Skimp
Don't skimp on stains and restoration products. Looking for bargain-basement opportunities to spend less on these products will mean you'll be staining more often. In terms of longevity and protection, you get what you pay for.
Protect your investment and the beauty of your wood deck with high-quality stain and a diligent process. Every few years, test the seal of your deck by sprinkling it with water. A nicely sealed deck will cause the droplets to bead up. If they absorb, it's time to restain.
Image via Flickr by OlgerFallasPainting
